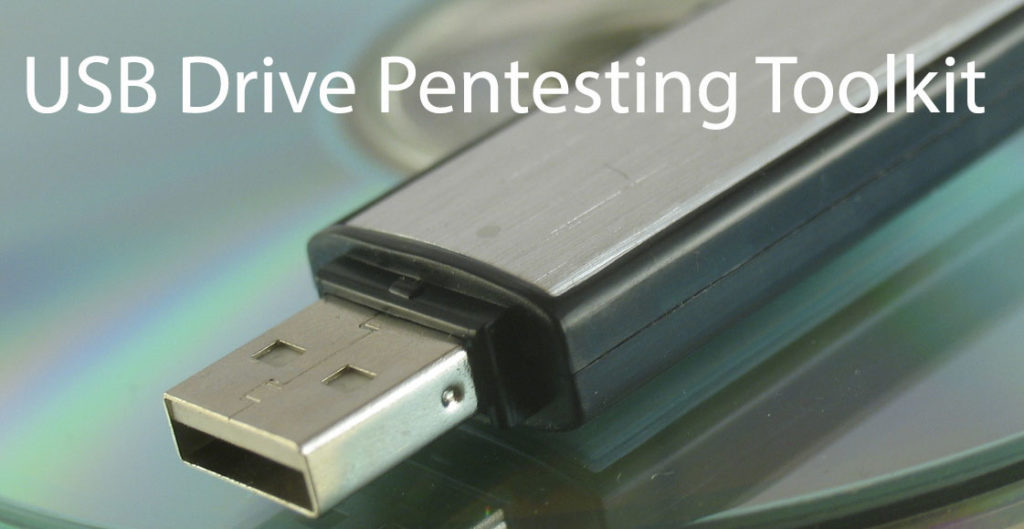
Setting up a pentesting USB drive that also works well for other IT professionals.
Fortunately, the days of carrying around a CD binder full of your various tools are long gone. With the lower prices of USB drives and their increased capacity, you can easily keep a large number of tools at your disposal.
About this Guide: This guide is intended for educational purposes only. The author of this guide is not responsible for misuse, damaged, loss, altered, files and hardware.
What You’ll Need:
- A USB drive (The larger the better. You can occasionally find a 128 GB drive for as little as $20)
- Internet connection (Which I am going to assume that you have if you are reading this)
First let’s head over to grab Yumi. Yumi is a multi-boot loader for USB drives and the primary tool we’ll be using. Yumi allows you to easily add and remove programs without having to wipe out your drive.
Download Yumi at: http://www.pendrivelinux.com/yumi-multiboot-usb-creator/
Next, plug in your USB drive into your computer and launch Yumi
Click on the “I Agree”
Click on the down arrow and select your drive
On the right side of the menu, we have the option of formatting the USB drive, View, ADD, or Remove distributions. I’m going to assume you have a clean USB drive.
Next, we’re going to click the drop-down arrow listed on Yumi’s “Step 2”. As we can see, there are a large number of programs listed here.
As this is going to be my penetration testing USB toolkit, and I’m a big fan of Kali Linux, so that’s what I’m going to select first.
With Yumi, you have two options to install these programs to your drive. You can either download the ISO ahead of time, or for convenience, you can click the “open download link” option. This will obviously open the program’s download link for you, saving you time searching for it.
One we have our ISO downloaded click on the “Browse” button:
Click on ISO
Click “Open”
Click the “Create” button
“Yes”to get started
Depending on how large the ISO will determine how much time it takes. You should see a dialogue box telling you how the install is progressing.
Once your ISO is ready, click “Next”
From here, you’ll have the option to load additional ISO’s to your drive. If you decide to load additional programs, simply follow the above steps.
Another great feature about Yumi is that if you have a particular ISO that you want loaded and it’s not listed in their menu, it’s no problem! Follow the instructions as if you were going to install any other ISO, when it’s time to select your ISO scroll to the bottom of the list. The option that I normally select is “Try Unlisted ISO (via SYSLINUX).
We have all the programs we want loaded by way of Yumi. What’s next? Well, we have a pretty good toolset now, but there is always room for improvement.
Keeping with the idea of a portable toolset and keeping the entire thing free (minus the cost of your USB drive), our next stop is Portable apps http://portableapps.com/.
If you never have used this program or heard of it before, Portable apps, as the name implies, is a set of portable tools that can be launched from your USB drive. The great thing about this is you can take all of your favorite apps to another person’s computer without installing it to their machine.
After downloading Portable apps let’s go ahead and launch it.
The initial install is pretty straight forward, so simply click through.
When we reach the “Install Type,” we’re going to choose “Custom Install”.
The next option gives us a wide range of locations to install to.
For this guide, we’re going to choose the first option, “Portable”.
Make sure you have your USB drive selected and click “Next” and “Install” (You may need to turn your anti-virus off for this if it’s set to block autorun.)
After the program installs you will be presented with a list of software. Simply select which programs that you want to install and click “Next”.
To launch the application, open your USB drive and click on “Start”
The last program that we’re going to install is similar to Portable apps. This one is called NirLauncher. The reason I include this one (in addition to Portable apps) is that it has a number of tools that can be useful for penetration testing. It’s also free and updated frequently.
You can download the software at: http://launcher.nirsoft.net/
This one is far easier and faster to setup since the installer has all of the programs pre-installed. Simply download the program and unzip it to your USB drive.
To launch NirLauncher simply open your USB drive and click on “NirLauncher”
We’ve seen how to launch the other 2 programs; let’s take a look at booting our primary drive. Plug your USB drive into the computer you want to boot off of and have it boot from the USB drive. Depending on how the BIOS is configured, you may need to interrupt the boot sequence and select the drive. If your drive still does not show up or is not a option, you’ll probably need to login to the BIOS and make sure that USB boot is not disabled.
When the drive does boot, you’ll see the menu screen. Simply navigate to the program you want to run and hit the “Enter” key.
Bonus – Customizing Yumi
If you wish to create a custom image for the Yumi menu, open your USB drive and then open the “multiboot” folder. There, you’ll find a .png file called “yumi”. Edit this file however you wish. Make sure the resolution, name and extension match the original.
Yumi is a very powerful tool. We can use it to boot to our own custom OS without touching the host machine. We can use it for data recovery, forensics, password hacking, hardware scanning, etc. – all for the cost of a single USB drive.
![]()