
What do you do when a virus or trojan horse cripples your system? Your favorite security app may have a bootable rescue CD you can use or you can use the free AVG Rescue CD. In part six of “What to do with your USB flash drive,” we’ll show you how to install it onto your USB flash drive.
What do you do when a virus or trojan horse cripples your system? Your favorite security app may have a bootable rescue CD you can use but could require you to enter a valid license key. Alternatively, you can use the free AVG Rescue CD.
In part six of our “What to do with your USB flash drive,” we’ll show you how to install the AVG Rescue CD onto your USB flash drive. Here’s how:
Step 1: Download the AVG Rescue CD software. Be sure to download the one labeled “for USB stick.” However, the latest version now takes up just under 500MB, so you’ll want at least a 1GB USB flash drive for the rescue drive.
Step 2: Extract the RAR file. If your compression program doesn’t support RAR files, install the free 7-Zip compression program.
Step 3: Double-click on setup.exe and choose your USB flash drive. WARNING: Whatever you do, do not double-click on the makeboot.bat file from your hard drive. This will make your system unbootable!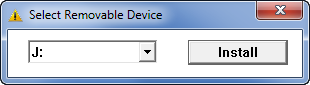
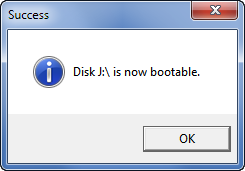
Step 4: When you see the message saying that your USB flash drive is now bootable, click the OK button to complete the install.
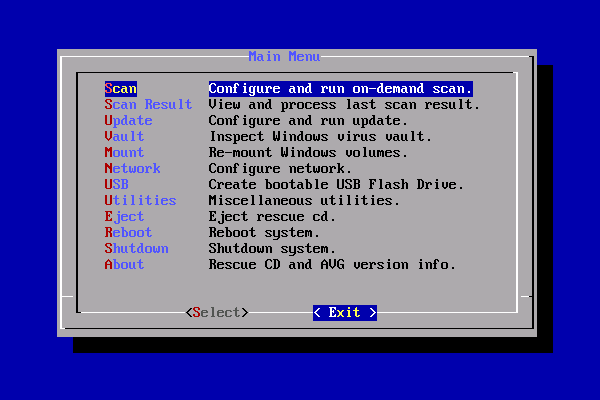
Step 5: Insert the AVG Rescue USB flash drive into the USB port of the computer you want to scan, then boot it. At the AVG Rescue Menu, hit the Enter key to start the AVG Rescue CD.

Step 6: Select Scan to start scanning your system. You’ll have the choice of scanning volumes or a directory only. Use the space bar to make your selections and hit OK to start scanning.
That’s it. The AVG Rescue CD also has other useful utilities, including Memtest86+ (run at boot) and a file recovery tool. A nice benefit to using a USB flash drive instead of an actual CD is that you can keep the virus database up to date without having to reburn a CD.
![]()
