
Install Ubuntu to USB flash drive
There are a lot of Linux distros to choose from, but in our example, we are going to install Ubuntu using a Windows machine. Your USB flash drive should be at least 1GB in size.
Step 1:
Download the 32-bit ISO of Ubuntu 11.04 Desktop and the Universal USB Installer. The ISO file is named ubuntu-11.04-desktop-i386.iso and the Universal USB installer is named Universal-USB-Installer-1.8.5.6.exe.
Step 2:
Double-click on Universal-USB-Installer-1.8.5.6.exe and after accepting the license agreement, select Ubuntu 11.04 from the drop-down list.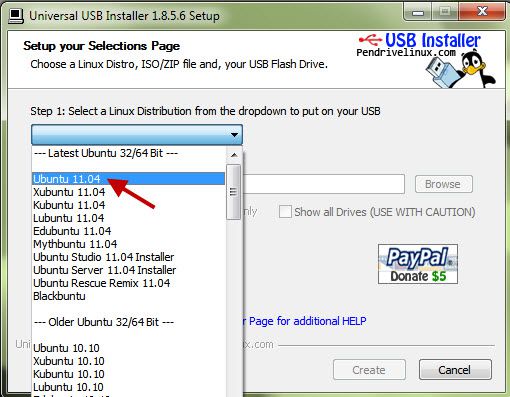
Step 3:
Browse and select the Ubuntu 11.04 ISO file you just downloaded.
Step 4:
Select the drive letter of the USB flash drive you want to put Ubuntu onto and check the box to format the USB flash drive. Make sure persistent file size is set to 0MB, then click the Create button.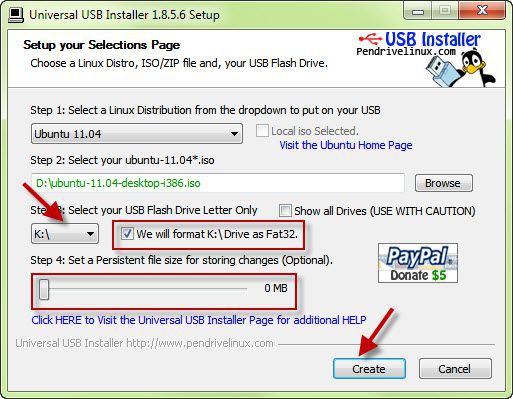
Step 5:
Confirm the details of the install then click the Yes button.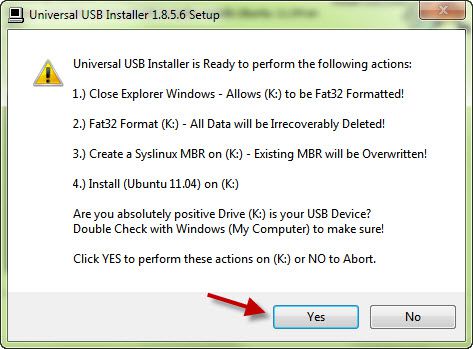
Run Ubuntu Live
Step 1:
Make sure that your computer’s BIOS is set to boot from USB devices then insert the USB flash drive into a USB 2.0 port. Turn your computer on and watch it boot to the installer boot menu.
Step 2:
At the installer boot menu, select “Run Ubuntu from this USB.”
Step 3:
You’ll see Ubuntu start up and eventually get the Ubuntu desktop. From here, you can configure your Wi-Fi and use the included Firefox browser to access the Internet.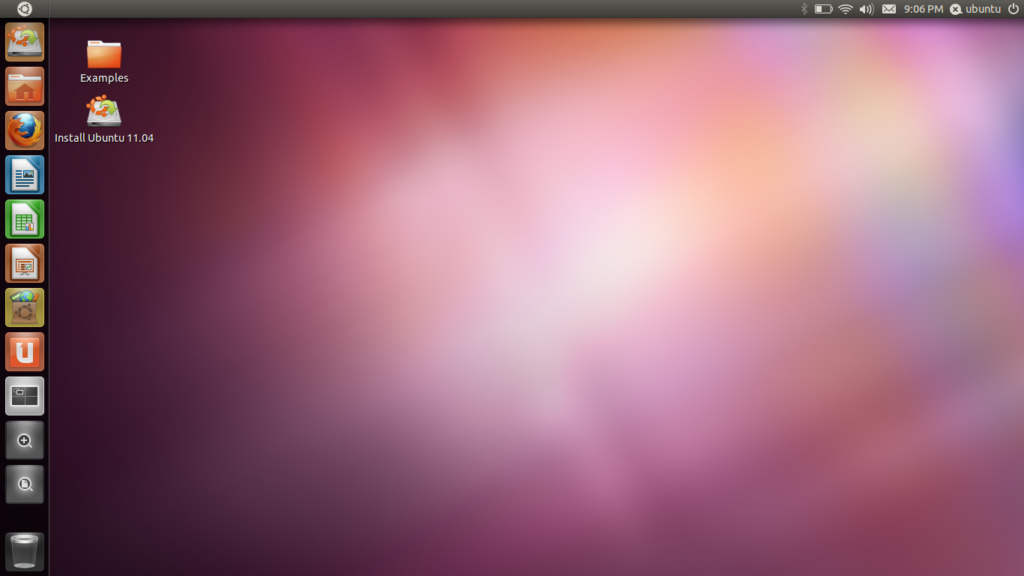
There you have it. Now you know how to set up your USB flash drive to run Linux. Keep in mind that any changes you make while running Linux Live will not be saved. If you like what you see and want to run the full-blown version of Ubuntu, you can use the USB flash drive to install it to your computer. Good luck and have fun!
![]()
