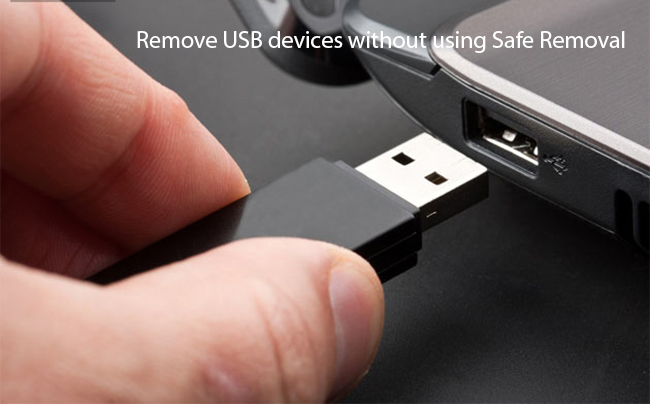
The proper way to remove USB devices in Windows is to use the Safe Removal option, but it can be a pain. If you have the quick removal policy set for your USB device, you can safely remove it without using Safe Removal.
USB devices can be hot-swapped, but their convenience is hindered by their need to be removed safely by using the Windows Safe Removal option. There’s a policy for each USB device, however, that allows you to set them for quick removal, at the expense of a very minor performance hit.
Here’s how to check to make sure that your USB device’s quick removal policy is turned on:
Step 1: After you’ve inserted your USB device, launch Device Manager by hitting the Windows logo key, then typing “device manager” and selecting it from the search list.
Step 2: Drill down in Disk drives and double-click on your USB device.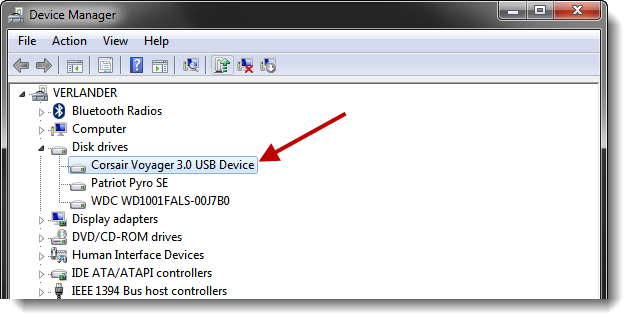
Step 3: Go to the Policies tab and make sure that “Quick removal (default)” is selected.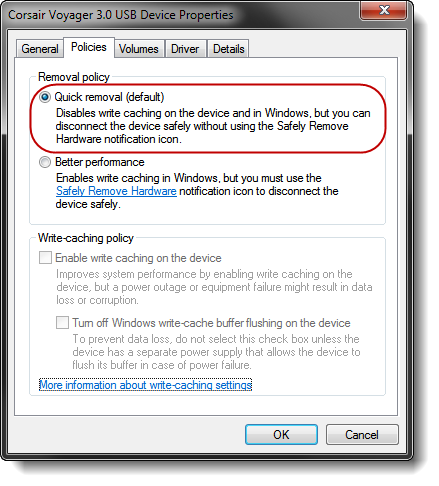
That’s it. Keep in mind that this policy setting doesn’t mean you should remove your USB device in the middle of a file operation. It just means that once the copy, delete, or move operation has been completed and the activity light on your device is no longer blinking, you can remove the device without using the Safely Remove Hardware notification icon.
![]()
