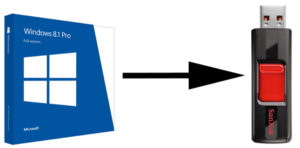
Windows is traditionally installed via an installation CD or DVD, but this isn’t possible on newer computers that don’t have optical drives. Luckily, you can create an installation drive using any USB pen drive, as long as it has at least 4 GB of storage. You don’t even need a Windows installation disc to make one.
Step 1.
Creating a bootable usb drive with windows 8.1
- Download Windows 8 Disc Images (ISO Files) from here
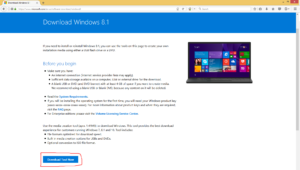
2. Save the file to your Pc
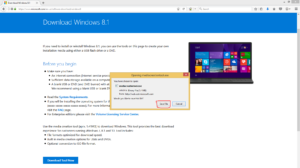
3. Insert your USB device
4. Run the program (double click on it)
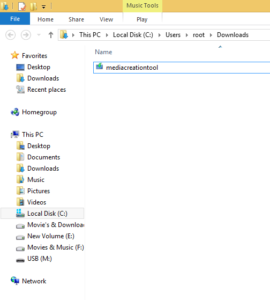
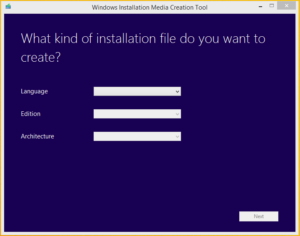
5. Select your preferred Language, Windows Edition and Architecture
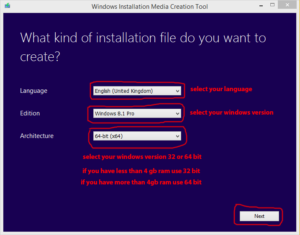
6. Hit the next button
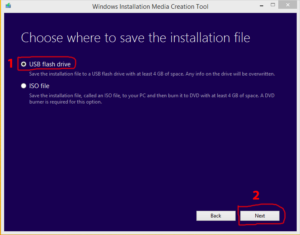
7. Select USB flash drive and hit the next button
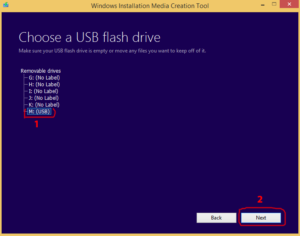
8. Here select your USB device (mine is “M”) and hit the next button
9. Hit the Ok button
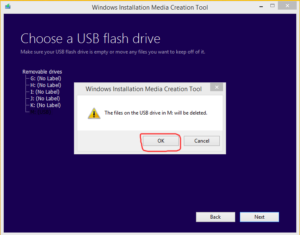
Now wait to finish…
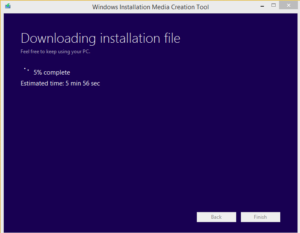
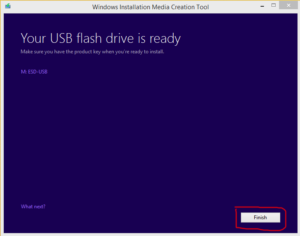
10. Hit the Finish button.
11. Verified your USB device
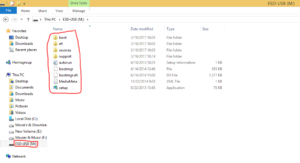
You are done with the first step (now you should have a bootable usb device with windows 8.1)
Step 2.
BIOS Boot
BIOS (Basic Input Output Subsystem) is a programmable chip that controls how information is passed to various devices in the computer system. A typical method to access the BIOS settings screen is to press F2, Delete, F8 or F10 during the boot sequence.
BIOS settings allow you to run a boot sequence from a floppy drive, a hard drive, a CD-ROM drive or an external device. You may configure the order that your computer searches these physical devices for the boot sequence.
The first device in the order list has the first boot priority. For example, to boot from a CD-ROM drive instead of a hard drive, place the CD-ROM drive ahead of the hard drive in priority.
Before you set boot priority for a USB device, plug the device into a USB port.
To specify the boot sequence:
- Start the computer and press F2, Delete, F8 or F10 during the initial startup screen. Depending on the BIOS manufacturer, a menu may appear.
- Choose to enter BIOS setup. The BIOS setup utility page appears.
- Use the arrow keys to select the BOOT tab. System devices appear in order of priority.
- To give a CD or DVD drive boot sequence priority over the hard drive, move it to the first position in the list.
- To give a USB device boot sequence priority over the hard drive, do the following:
- Move the hard drive device to the top of the boot sequence list.
- Expand the hard drive device to display all hard drives.
- Move the USB device to the top of the list of hard drives.
- Save and exit the BIOS setup utility.
- The computer will restart with the changed settings.
Boot Priority Options
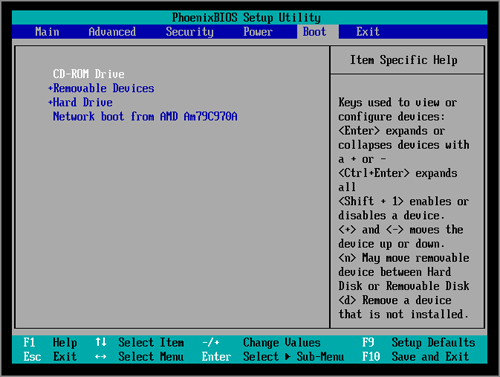
Some computer manufacturers allow you to select the device that contains the boot sequence from a special device selection menu. The example below uses a Dell system board.
To set boot priority using a device selection menu:
- When the computer starts to boot up, after the manufacturer’s ID screen, press F12 several times. The device selection menu appears.
- Use the up and down arrows to select USB Flash Drive.
- To boot from the selected device, press ENTER.
If you set the boot order correctly, your Windows 8 installation will load after the manufacturer’s logo disappears.
Step 3.
Installing Windows 8.1
- Select your language. Once the Windows 8 installation begins, you will be prompted to select a language, time and currency format, and keyboard layout. Once you select these, click Next.
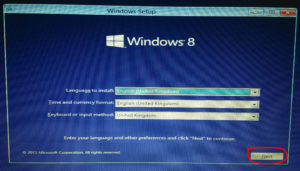
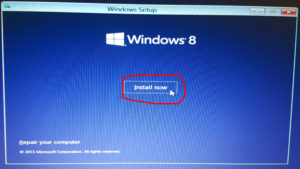
2. Click Install Now. This will begin the installation process. The other option is for repairing an existing Windows installation.
3. Enter your product key. This is the 25 character key that came with your purchased copy of Windows 8. It may be located on a sticker on your computer or underneath your laptop.
Here you have a few license keys to activate Windows x86 / x64
4WPNB-F8F68-P2RYR-Y7QFW-33R9V
6P3RV-NKC86-WKBPP-MRDHT-WW8XV
6W4NX-R4K9W-2HGYR-7XYDB-6VF9V
CGWVF-N3VMK-CVG7W-MBB9Y-MY2KV
D46QW-N3M4H-RY93J-DPMPY-43G67
QGQN6-KVGDF-3RYWW-XRWTM-88CKV
QHRT7-BNHCX-W43BC-FPYBR-K4PKV
TXPW4-R4NQM-44JJ2-TY6TD-M7RDH
W8NRD-JQY8C-MYKKG-HYJK6-V49T7
CQ2PJ-C7MJC-T3RBP-NMWJH-2RYRQ
JRMHB-9F327-NDT76-4T9KR-DJXWD
4PQWW-PPNY7-XJ8RJ-V6C4T-FVRFQ
9DDD3-84PXF-QNPXF-3PV8Q-G8XWD
TWHQX-8CH4Y-39DN9-VD7MG-WW8Y3
GY8MV-86KDB-4XGNP-X3Y76-72WY3
JC9DV-2P37N-DKD3W-MKKV4-6Q4FQ
PGB97-GJMN2-XB3CX-T86FB-88CM3
B783Q-MB34J-NG6K3-WH82J-82KWD
66HJB-X2N4J-Y42JB-T6GDB-RCWY3
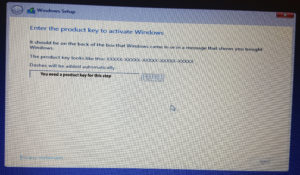
- You do not need to enter the dashes between the groups of characters.
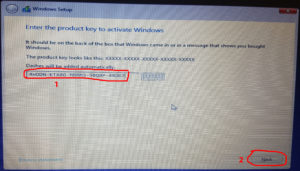
- This is not an optional step. Previous versions of Windows allowed you to register your product up to 60 days after installing. You must now enter the key before installation begins.
After installation you still have to activate Windows.
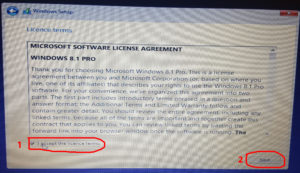
4. Accept the license agreement. Once you have read the agreement, check the box signifying that you accept the agreement and click next.
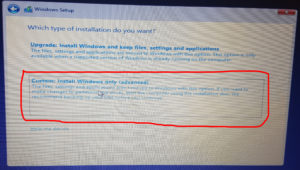
5. Click Custom Install. You will have two options to install windows. Picking Custom will allow you to do a complete installation of Windows 8. Selecting upgrade can cause performance problems in the long run. It is highly recommended that you do a clean Custom Install.
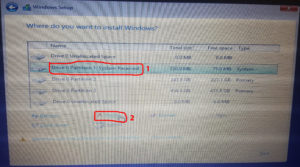
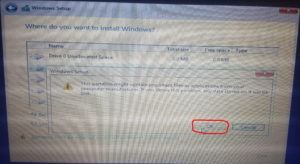
- Select the partition of your existing operating system and click the Delete button.
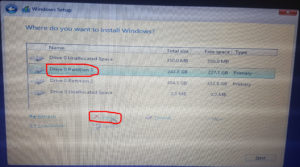
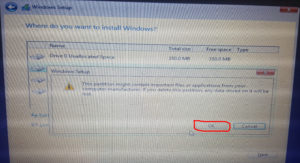
- If you are installing an operating system for the first time on this hard drive, then there will be no partitions to delete.
- If your hard drive has multiple partitions, be sure to delete the correct one. Any data on a deleted partition is lost for good.
- Confirm the deletion process.
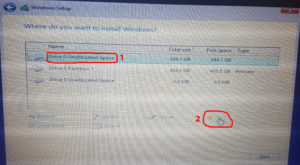
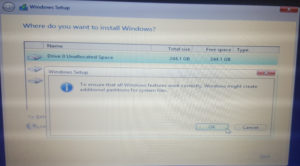
- Select the Unallocated Space and hit the New option (this will create a new partition)
- After Hit the OK button
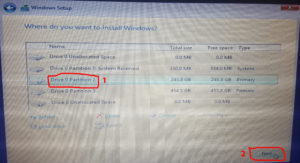
- Select the New partition and hit the Next button
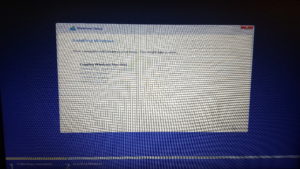
- When the installation has finished it will ask you to unplug the USB device
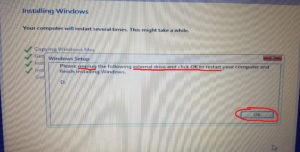
- Windows will automatically restart your computer when finished.
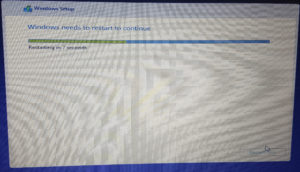
8. Wait while Windows gathers information. After the computer reboots, you will see the Windows 8 logo. Beneath it will be the text “Getting devices ready” followed by a percentage. Windows is collecting information on the hardware installed in your computer.
- When this is done, the text will change to “Getting ready”.
- Your computer will restart one more time.
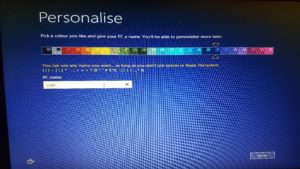
- Once the computer finishes rebooting, you will be asked to pick the color scheme for your installation of Windows 8.
- You can change the color at any time in the Windows 8 settings.
-
Enter a computer name. This is the name that the computer displays on the network. Any other device on the network will see your computer listed with this name.
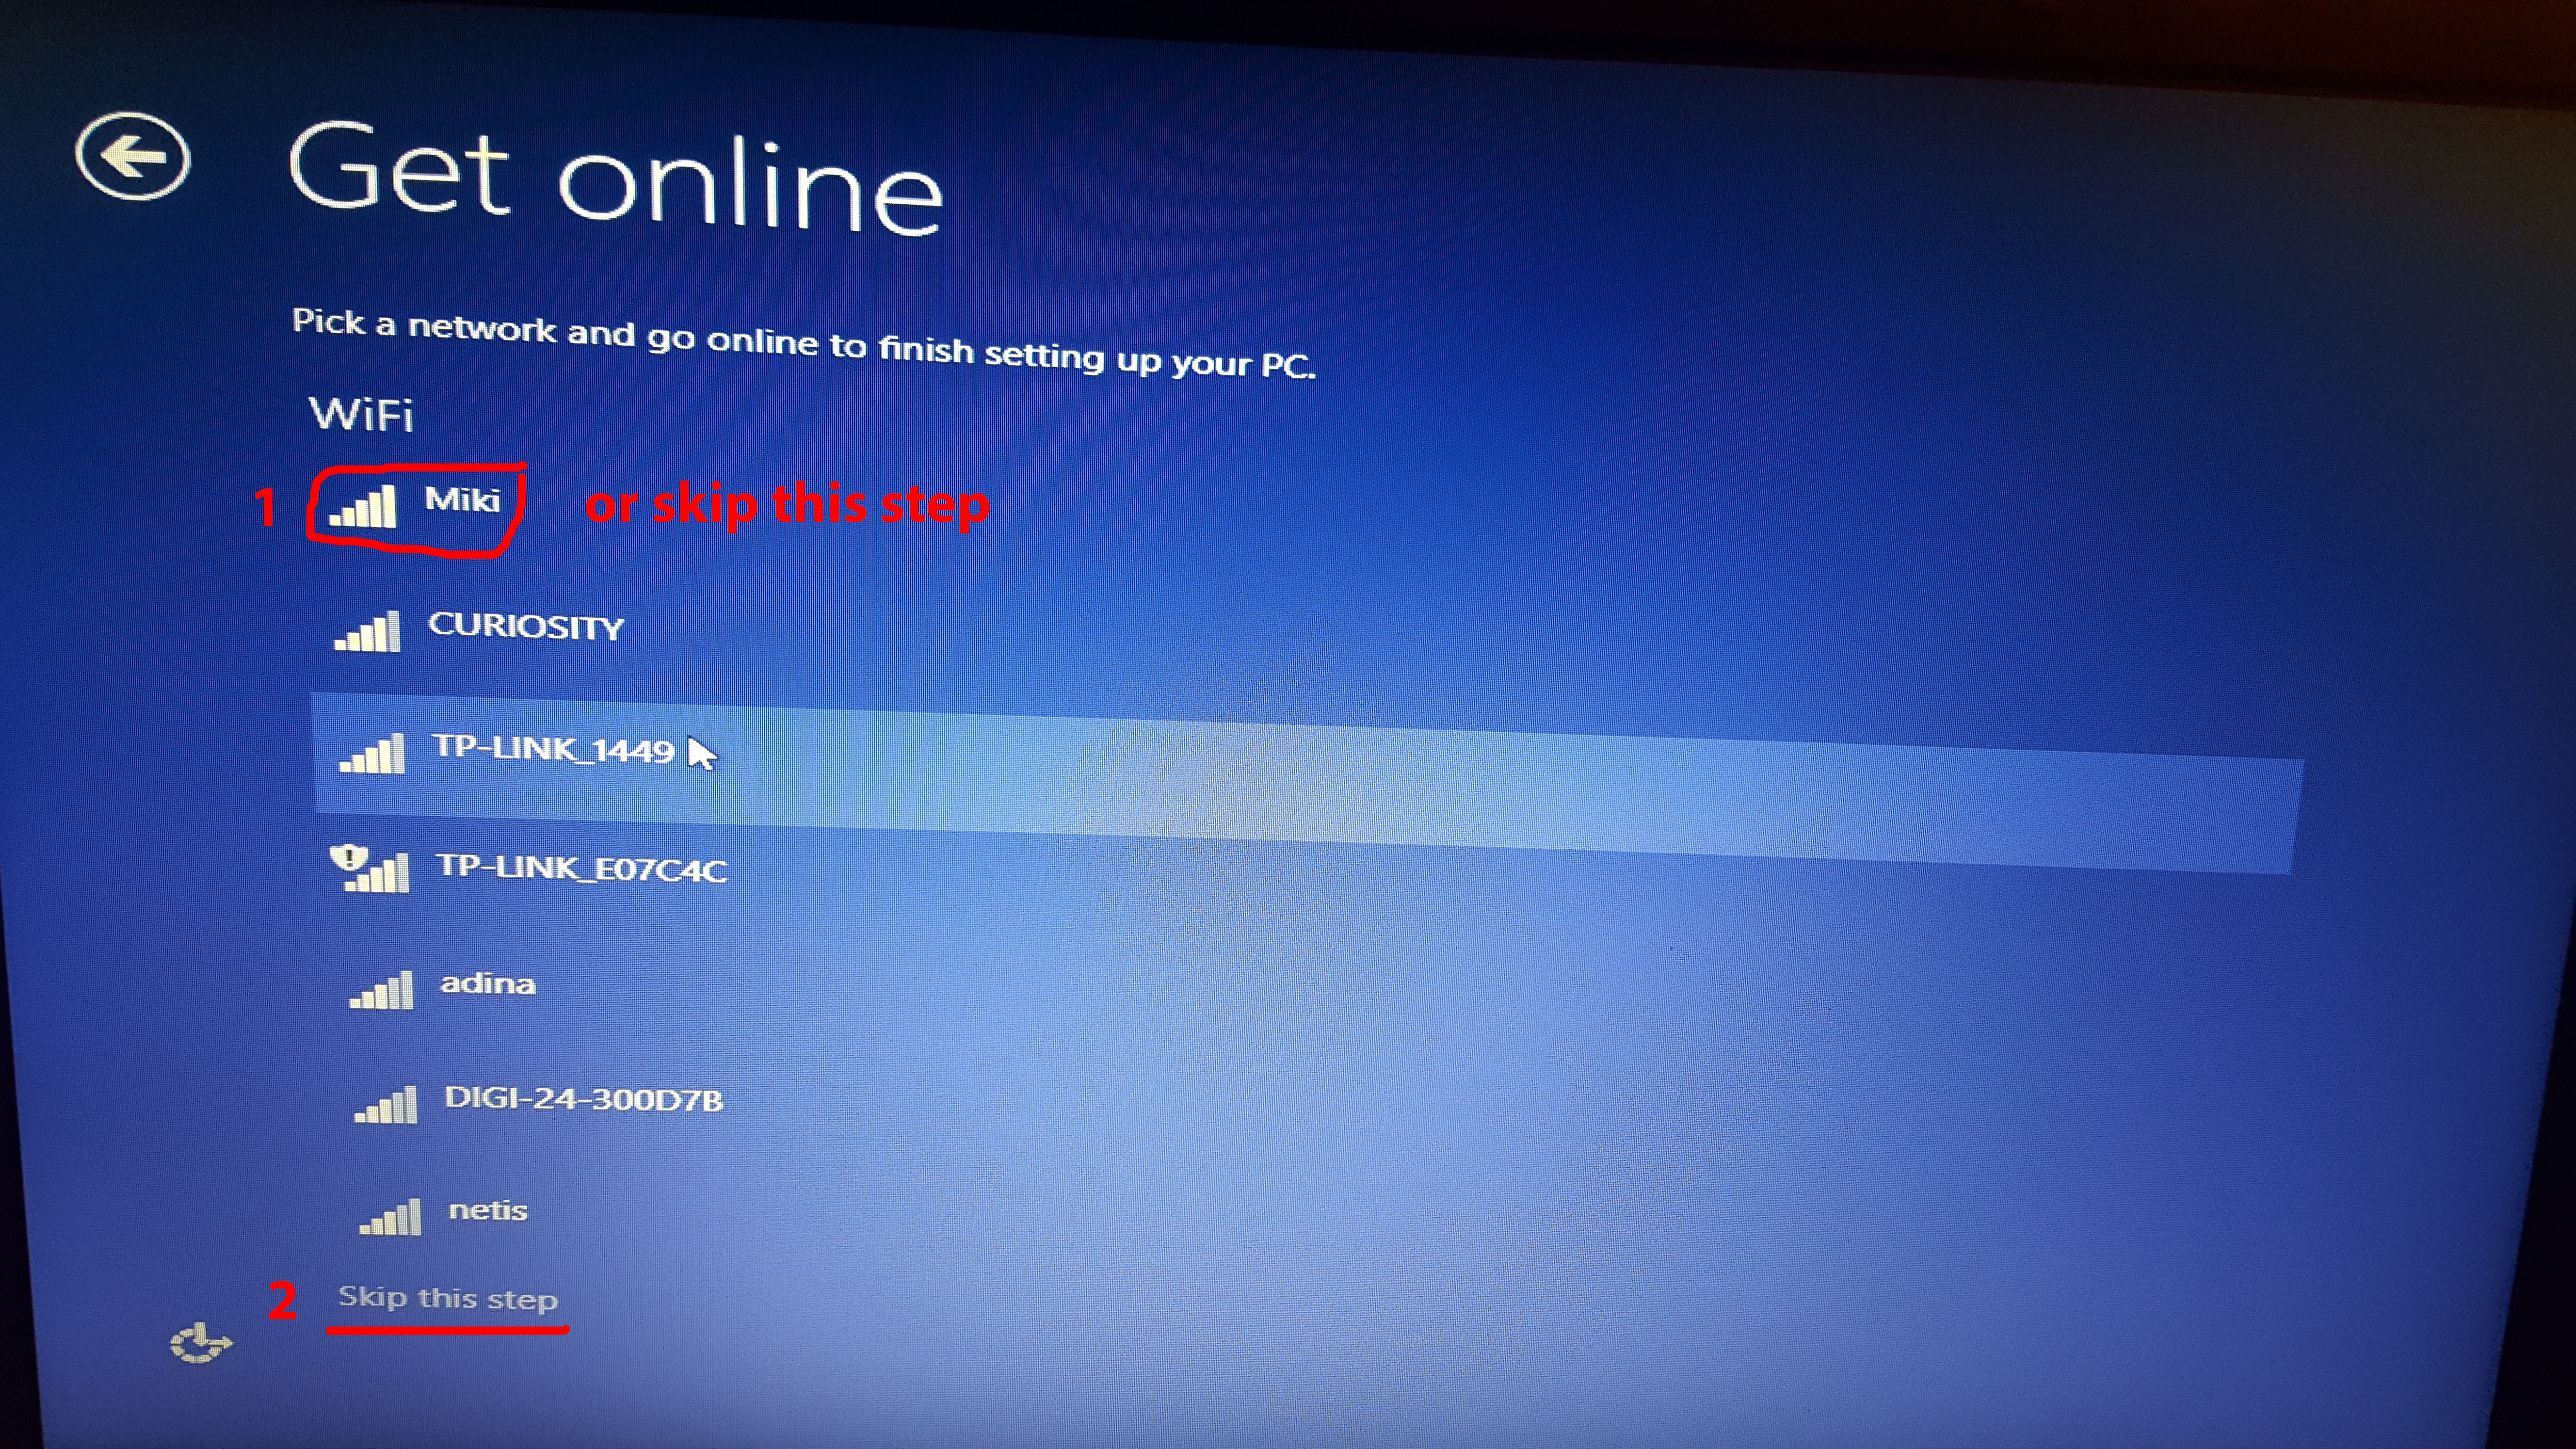
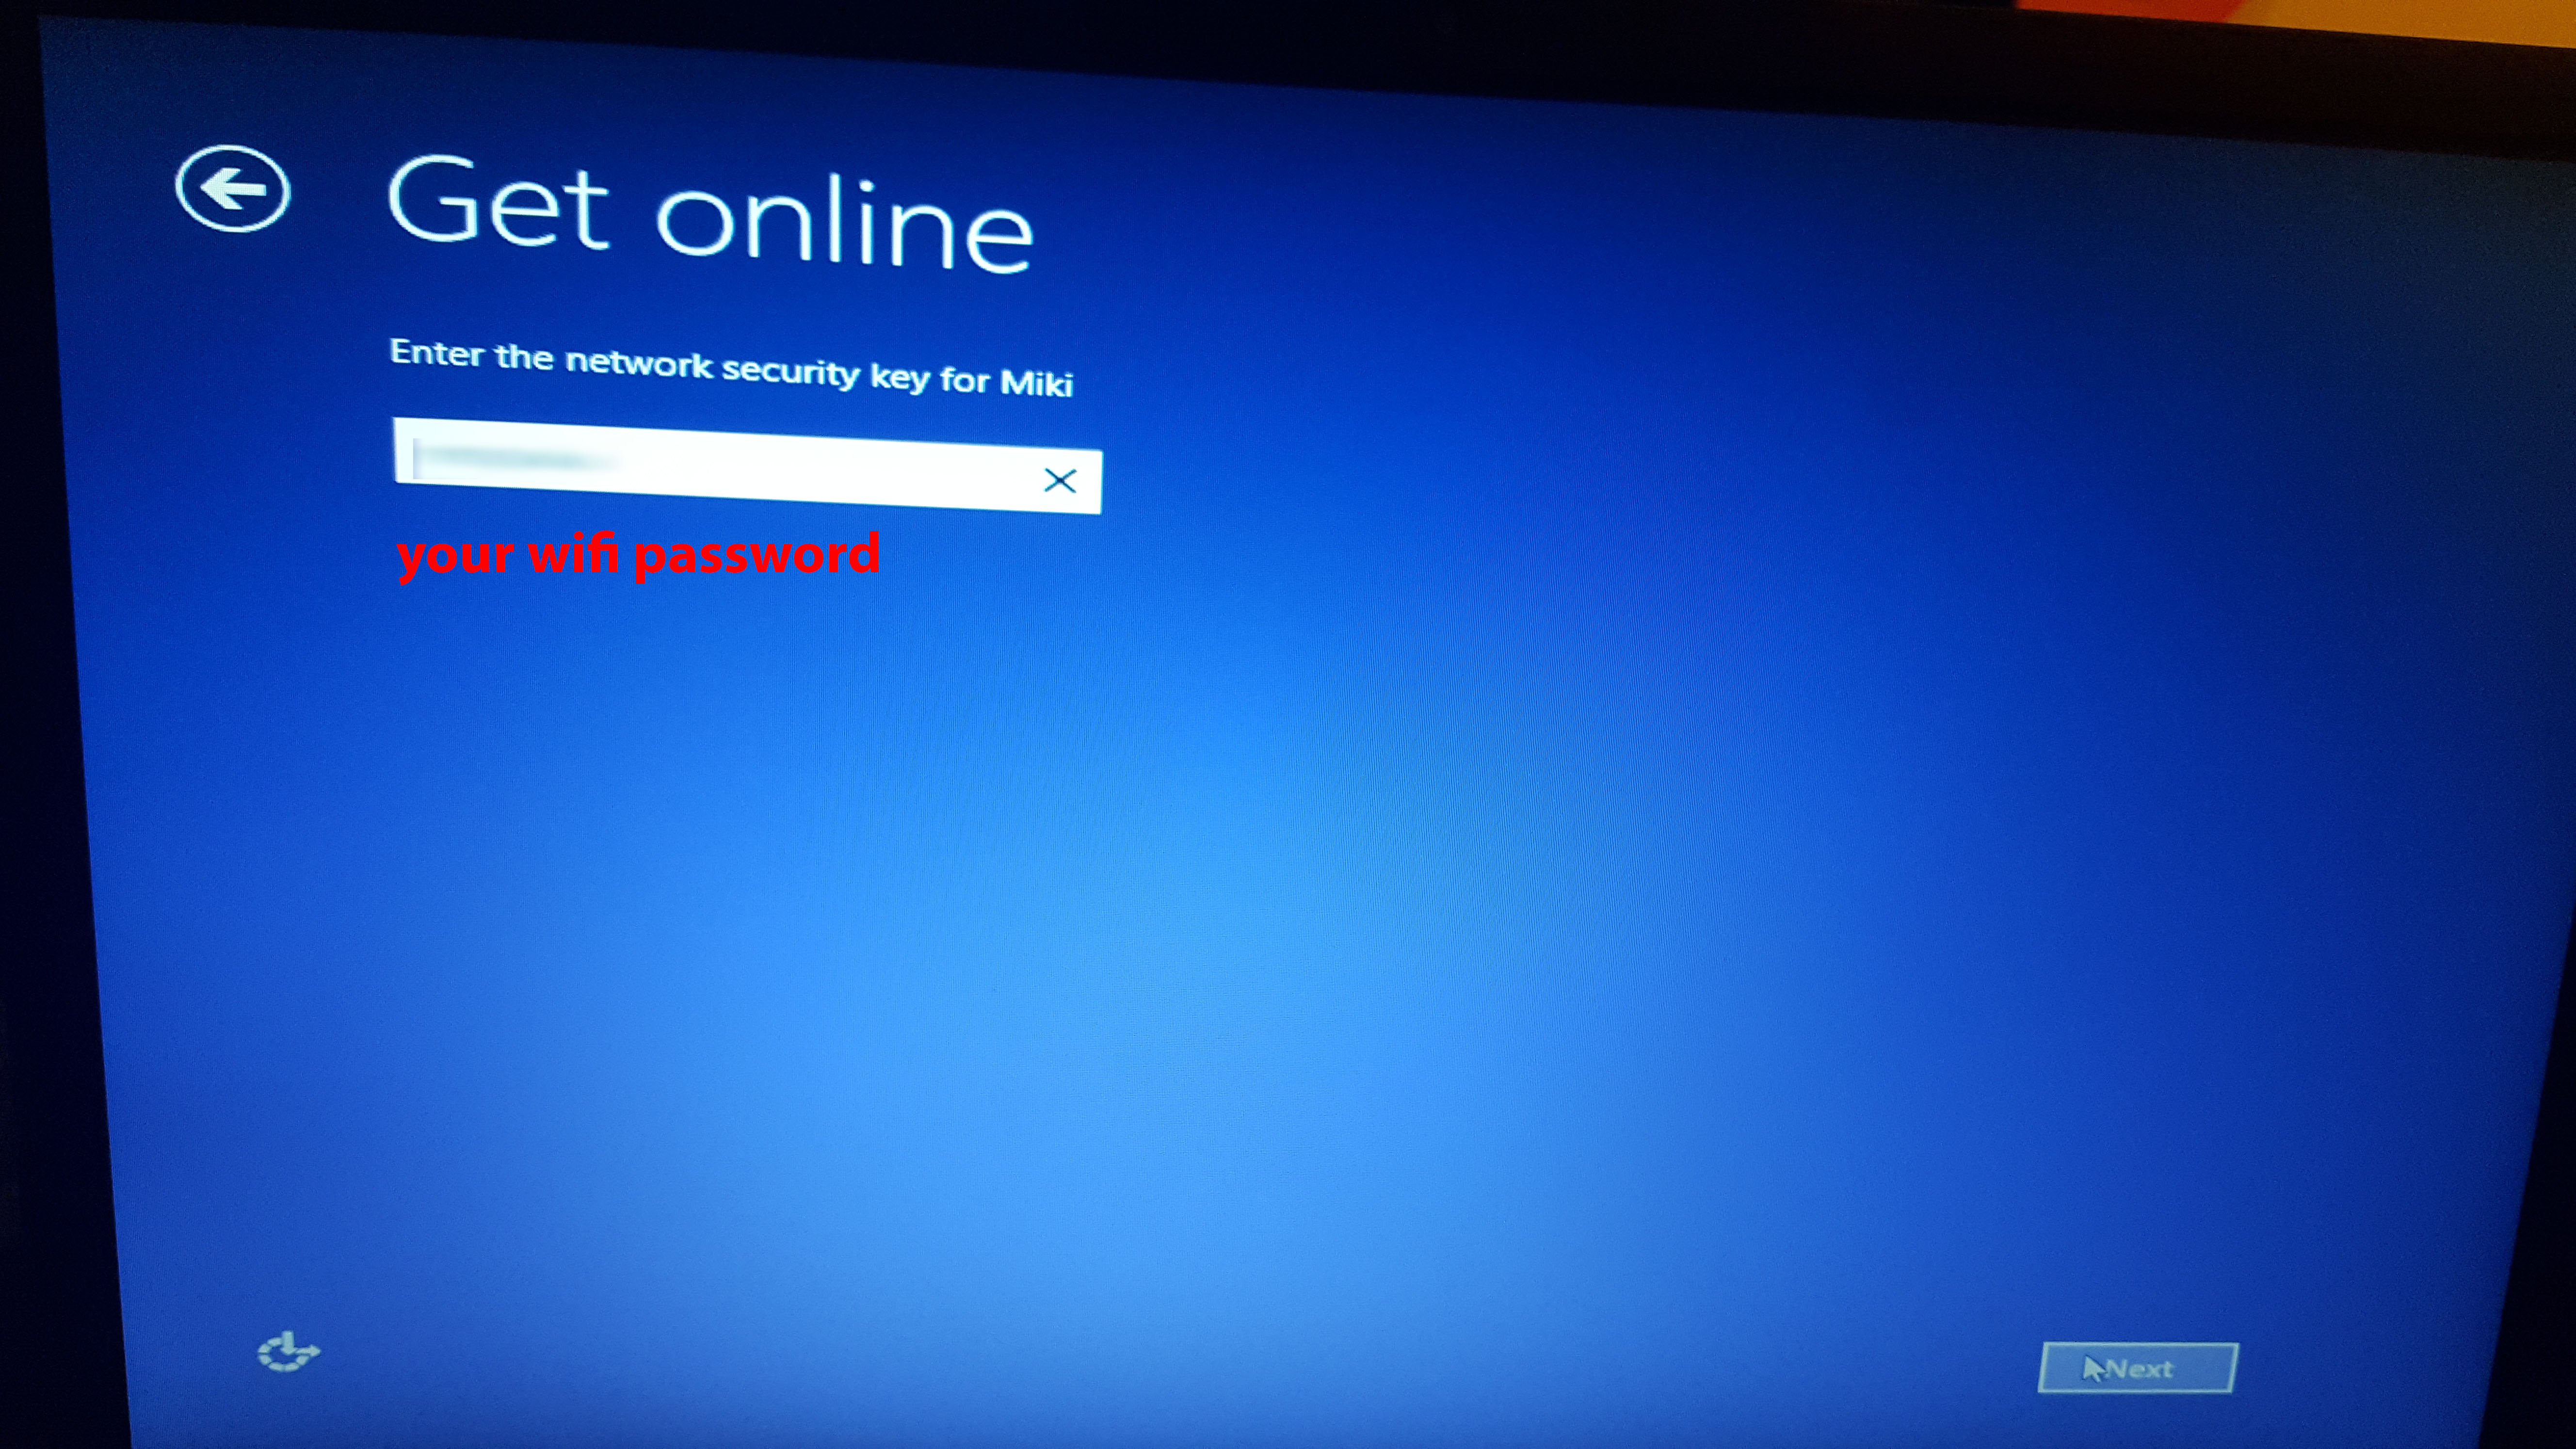
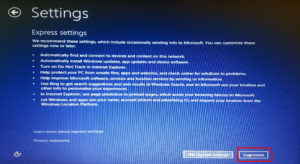
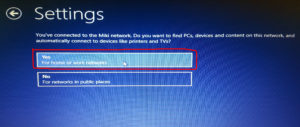
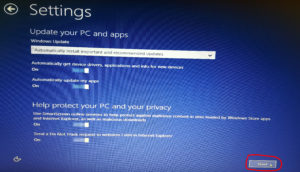
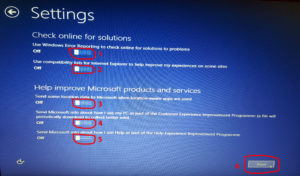
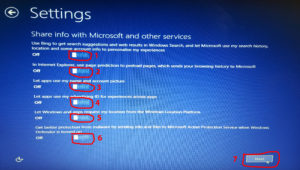
- Click on Create a new account
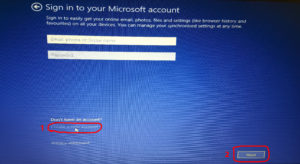
- Click on Sing in without a Microsoft account
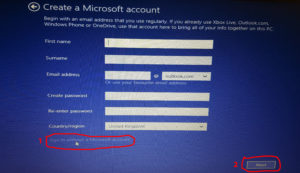
Hit the Next button
16. Your account
- Enter your Username
- You can put a password if you want
- But if you choose to use a password you must type a hint for your password
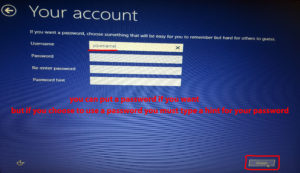
Hit the Finish button
After choosing all of your settings, Windows goes through one final setup process. You will see several screens explaining how to use the new Windows. Once the loading is complete, you’ll be presented with your Start screen. You’re ready to begin using Windows 8.
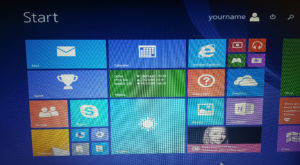
That’s it you have successfully installed your windows 8.1
Note: Using an incorrect BIOS setting can cause a system malfunction. Please follow the BIOS guide provided with your computer motherboard. If you read these instructions and you are not sure how to change a setting, it is better to leave it as the default setting.
![]()
